Set up SAML with Azure AD
You can set up the Intelligence Center to use Azure AD (Active Directory) as your identity provider (IdP) and allow users to sign in on the Intelligence Center using OAuth 2.0 or SAML.
Contents
Manage users from external authentication systems
the Intelligence Center stores information about ‘external’ users by creating Intelligence Center user accounts marked with external_* attributes. For more information about these external user accounts, see Managing external users.
Set up SAML on your Azure AD tenant
Requirements:
Root access to the Intelligence Center host.
Permissions to register applications on the target Azure AD tenant.
Steps:
Set up Azure AD SAML Toolkit
To allow users to sign in to the Intelligence Center with SAML using their Azure accounts, you must add the Azure AD SAML Toolkit to your Azure AD tenant and configure it:
Sign in to the Azure portal.
Add the Azure AD SAML Toolkit to your Azure AD tenant.
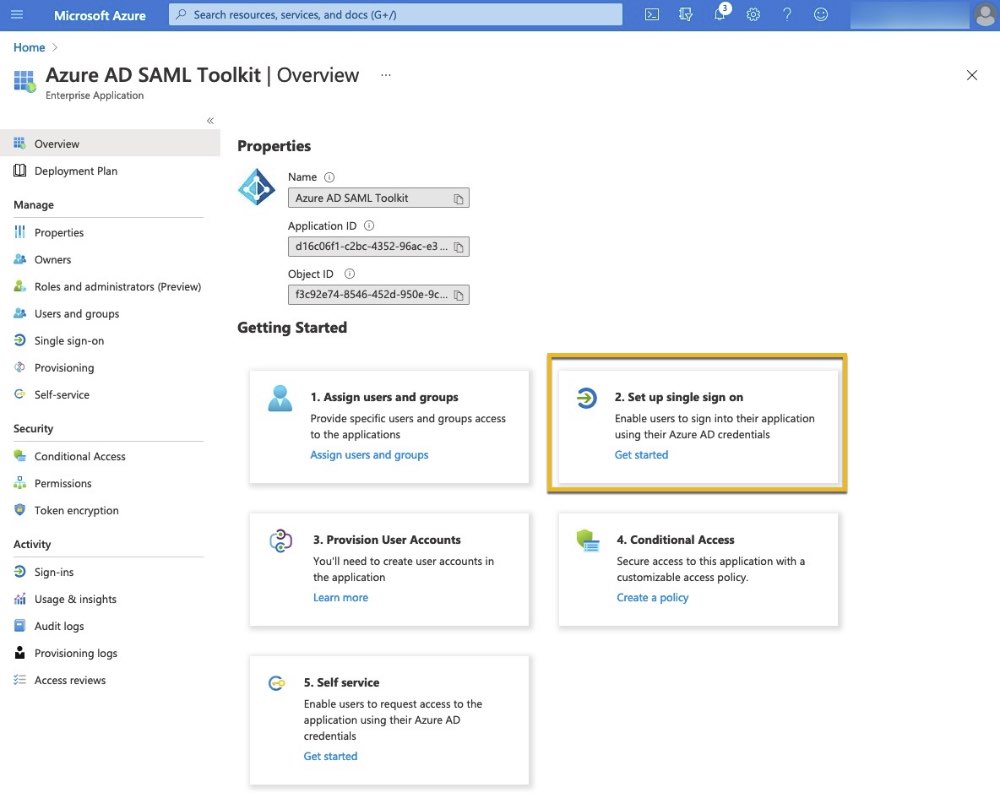
In the Overview for the Azure AD SAML Toolkit, select Set up single sign on.
Select SAML.
On the Set up Single Sign-on with SAML page, look for the Basic SAML configuration section.
In that section select Edit.
Set the following parameters:
Field name
Example value
Description
Identifier (Entity ID)
https://platform.example.com
Change this to your Intelligence Center URL.
Reply URL (Assertion Consumer Service URL)
https://platform.example.com/private/saml/initialized/
Set this to https://{platform-url}/private/saml/initialized.
Sign on URL
https://platform.example.com
Set this to your Intelligence Center URL.
Logout URL
https://platform.example.com/private/saml/logout
Set this to https://{platform-url}/private/saml/logout.
Select Save.
Start the Intelligence Center in SAML configuration mode
On your Intelligence Center host, edit /etc/eclectiq/platform_settings.py and set these values:
SAML_AUTH_ENABLED = True
SAML_CONFIGURE_MODE = True
Save your changes, and restart the Intelligence Center web service. Run as root:
systemctl restart eclecticiq-platform-backend-web
Generate SAML settings for Intelligence Center
In your browser, go to https://{platform-url}/private/saml/configure to open the Intelligence Center SAML configuration tool.
Copy and paste the following YAML text into the Live Configuration field of the SAML configuration tool:
SAML_ADMIN_ROLE_GROUP_NAME: EclecticIQAdminsGroup
SAML_AUTH_ENABLED: true
SAML_CASE_SENSITIVE_MATCHING: true
SAML_ENC_CERT: null
SAML_ENC_KEY: null
SAML_IDP_ENTITYID: https://sts.windows.net//
SAML_IDP_METADATA:
  url: https://login.microsoftonline.com//federationmetadata/2007-06/federationmetadata.xml
SAML_IDP_MINIMUM_LEVEL: null
SAML_METADATA_CONTACT_PERSON:
  contact_type: Technical
  email_address:
  - [email protected]
  given_name: John
  sur_name: Smith
SAML_METADATA_ORG:
  display_name:
  - - Organization display name in English
    - en
  name: Default organization name
  url: http://example.localhost
SAML_REQUEST_USE_POST_BINDING: false
SAML_SIGN_AUTHN_REQ: false
SAML_SIGN_LOGOUT_REQ: false
SAML_USER_DEFAULT_GROUPS: []
SAML_USER_DEFAULT_ROLES: []
SAML_USER_EMAIL_ATTR: http://schemas.xmlsoap.org/ws/2005/05/identity/claims/emailaddress
SAML_USER_FIRSTNAME_ATTR: givenName
SAML_USER_GROUPS_ATTR: http://schemas.microsoft.com/ws/2008/06/identity/claims/groups
SAML_USER_IS_ADMIN_ATTR: isEclecticIQAdmin
SAML_USER_LASTNAME_ATTR: sn
SAML_USER_ROLES_ATTR: http://schemas.microsoft.com/ws/2008/06/identity/claims/groups
SAML_USER_USERID_ATTR: http://schemas.microsoft.com/identity/claims/objectidentifier
SAML_WANT_ASSERT_SIGNED: true
SAML_WANT_RESPONSE_SIGNED: false
Then, replace the values of these fields in Live Configuration:
Field
Description
SAML_IDP_ENTITYID: https://sts.windows.net//Replace <Azure-Tentant-ID> with your Azure AD Tenant ID.
SAML_IDP_METADATA:
  url:
Make sure that url is set to the federation metadata document endpoint for your Azure AD tenant.
This is usually https://login.microsoftonline.com/<Azure-Tentant-ID>/federationmetadata/2007-06/federationmetadata.xml
For more information, see https://github.com/MicrosoftDocs/azure-docs/blob/master/articles/active-directory/azuread-dev/azure-ad-federation-metadata.md
SAML_USER_GROUPS_ATTR: SAML_USER_ROLES_ATTR:SAML_USER_GROUPS_ATTR and SAML_USER_ROLES_ATTR are set to http://schemas.microsoft.com/ws/2008/06/identity/claims/groups in the YAML sample provided above.
For more information about Azure AD groups and roles, see Map Azure AD groups and roles to the Intelligence Center below.
For more information about Azure AD SAML tokens, see the Azure AD SAML token reference.
Customize the rest of the contents of the Live Configuration according to the instructions listed in the Intelligence Center SAML configuration tool, or where appropriate for your environment.
Click Test Login.
Once the test is successful, copy the contents of the Current configuration field and prepare to add it to platform_settings.py.
Edit platform_settings.py
Open the terminal on the Intelligence Center host.
Edit /etc/eclecticiq/platform_settings.py.
Add the contents of the Current configuration field you copied earlier to the bottom of platform_settings.py.
Set the value of SAML_CONFIGURE_MODE to False:
SAML_CONFIGURE_MODE=FalseSave your changes.
Once done, restart the Intelligence Center services.
Run as root:
systemctl restart eclecticiq-platform-backend-services
Map Azure AD groups and roles to the Intelligence Center
the Intelligence Center synchronizes group and role assignments for Azure AD users by checking the claims specified for the SAML_USER_GROUPS_ATTR and SAML_USER_ROLES_ATTR parameters in /etc/eclecticiq/platform_settings.py.
By default, both are set to http://schemas.microsoft.com/ws/2008/06/identity/claims/groups. This means that the Intelligence Center:
Checks the contents of the http://schemas.microsoft.com/ws/2008/06/identity/claims/groups claim. Each value in the groups claim is a security group on Azure AD.
Because both SAML_USER_GROUPS_ATTR and SAML_USER_ROLES_ATTR are set to groups, the Intelligence Center looks for both groups and roles using those same values in the groups claim.
Attempts to match each value in the claim to a role or group on the Intelligence Center.
If a value in the groups claim matches the name of a group or role on the Intelligence Center exactly, it assigns the signed-in user that group or role.
Use the roles claim instead
You can set SAML_USER_ROLES_ATTR to http://schemas.microsoft.com/ws/2008/06/identity/claims/role instead, but you must have set up your Azure AD tenant to emit a SAML token with a roles claim.
For more information on configuring your tenant to configure the roles claim in the emitted SAML token, see Azure AD documentation.
Azure AD group OIDs and names
By default, Azure AD only emits OIDs (Azure AD object identifier) for security groups in its groups claim. On Azure AD cloud-only tenants, you cannot emit security group names in tokens.
Security group OIDs look like this:
6cab8f93-8e22-4947-80c3-c6ed549cb47aTo synchronize security group assignments on your Azure AD tenant with Intelligence Center group assignments, you must create groups on the Intelligence Center that have the corresponding security group OID as its name.
For example: we have a security group named “Restricted” with the OID 6cab8f93-8e22-4947-80c3-c6ed549cb47a. To be able to assign it to an Azure AD user and have that assignment synchronize with the Intelligence Center, you must create a group on the Intelligence Center named 6cab8f93-8e22-4947-80c3-c6ed549cb47a.
If a group named 6cab8f93-8e22-4947-80c3-c6ed549cb47a does not exist on the Intelligence Center, then that claim value is ignored.
To get Azure AD to emit a groups claim containing group names instead, you must have:
An Azure AD tenant that is synchronized with an on-premises AD, and
Set your registered application to emit a groups claim that contains groups identified by sAMAccountNAme instead of Group ID.
For more information on group claims, see the Azure AD documentation